Step 1: Set Up Azure Resources
You'll use the Azure Developer CLI (azd) to provision all necessary Azure resources for Snippy. This process takes several minutes (5-10) and will run in the background.
1.1 Clone the Repository
VS Code will open the snippy folder with the source code and assets for the tutorial.
1.2 Set Up GitHub Copilot
This tutorial requires GitHub Copilot with access for MCP tool integration.
-
Verify GitHub Copilot is installed:
- In VS Code, check for the GitHub Copilot icon in the Activity Bar (left sidebar)
- If not installed, install the GitHub Copilot and GitHub Copilot Chat extensions from the VS Code marketplace
-
Sign in to GitHub Copilot (if not already signed in):
- Click the account icon (bottom left) → Sign in to use GitHub Copilot
- Follow the prompts to authenticate with your GitHub account
- Authorize VS Code to access your GitHub account when prompted
-
Configure the model:
- Open the GitHub Copilot Chat window (Ctrl+Alt+I or Cmd+Alt+I)
- Click the model selector at the top of the chat panel
- Select Claude Sonnet 4.5 from the available models
1.3 Provision Azure Resources
Now you'll use azd to provision all necessary Azure resources.
-
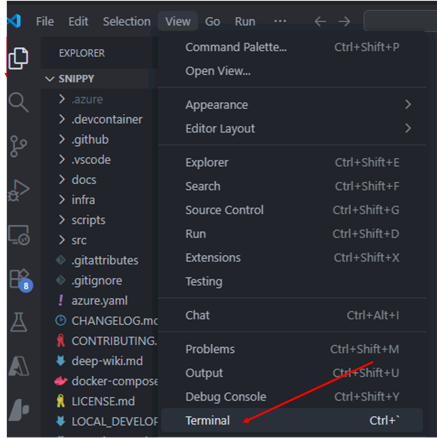
Open your terminal inside VS Code (View → Terminal) and ensure you are in the snippy root directory
-
Login to Azure:
Follow the authentication prompts in your browser.
-
Set up the azd Environment:
An azd environment stores configuration details like subscription ID and location. Create a new environment with a unique suffix (replace
<unique-suffix>with your own identifier, e.g., your initials and a random number likejd4792):Note: To find your subscription ID, run
az account list --output tableand use the subscription ID from the output. -
Set the name suffix for Azure resources:
The name suffix will be added at the end of the resources deployed to Azure:
-
Provision and Deploy Resources:
Run the following command. This reads the infrastructure definition (infra folder, main.bicep) and begins creating the resources in Azure:
If prompted, select a location from the terminal to deploy the Azure resources.
Do not wait for it to complete. It will run in the background. Proceed immediately to the next step while it runs.
What This Provisions:
- Azure Function App (using the scalable Flex Consumption plan)
- Azure Storage Account (for Functions operations and state)
- Azure Cosmos DB for NoSQL (pre-configured for vector search)
- Azure AI Services (with gpt-4o-mini and text-embedding-3-small models deployed)
- Microsoft Foundry resources (Foundry projects)
- Azure Log Analytics & Application Insights (for monitoring)
- Durable Task Scheduler (for workflow orchestration)
- Managed Identity (for secure access to Azure resources)
Note: These resources are created within a new resource group named rg-snippymcplab-
. You will deploy your application code to the Function App later using azd deploy.
Proceed to code review exercises while provisioning takes place
Important: Ensure you can easily access the terminal running azd provision to monitor its progress and verify when it finishes.